Unlocking Local Storage: A Guide to Disabling OneDrive in Windows 10
Related Articles: Unlocking Local Storage: A Guide to Disabling OneDrive in Windows 10
Introduction
With great pleasure, we will explore the intriguing topic related to Unlocking Local Storage: A Guide to Disabling OneDrive in Windows 10. Let’s weave interesting information and offer fresh perspectives to the readers.
Table of Content
Unlocking Local Storage: A Guide to Disabling OneDrive in Windows 10
![How to Disable OneDrive in Windows 10 [Complete Guide] - EaseUS](https://www.easeus.com/images/en/data-recovery/drw-pro/disable-onedrive-in-registry-editor.png)
In the digital age, cloud storage solutions like OneDrive have become ubiquitous, offering a convenient way to synchronize files across devices and access them from anywhere. However, for users who prioritize local storage, prefer complete control over their data, or face limitations with their OneDrive storage plan, disabling OneDrive in Windows 10 can be a beneficial choice.
This comprehensive guide provides a detailed explanation of how to disable OneDrive in Windows 10, outlining the benefits, potential drawbacks, and essential considerations to make an informed decision.
Understanding OneDrive’s Role in Windows 10
OneDrive seamlessly integrates with Windows 10, offering features like file syncing, automatic backups, and the ability to access files from multiple devices. It acts as a central hub for your documents, photos, and other important data, ensuring they are readily available across your Windows ecosystem.
Why Disable OneDrive in Windows 10?
While OneDrive offers numerous advantages, certain scenarios might necessitate disabling it. These include:
- Limited Storage Space: OneDrive’s free storage plan is limited. If you frequently exceed this limit, disabling OneDrive can prevent automatic syncing and potential data loss.
- Data Privacy Concerns: Some users prefer to keep their data exclusively on their local drives, minimizing the reliance on cloud services.
- Performance Issues: OneDrive’s constant background syncing can consume system resources and impact performance, especially on older or resource-constrained devices.
- Control Over Data Location: Disabling OneDrive allows you to manage your files entirely within your local storage, providing complete control over their location and accessibility.
Methods for Disabling OneDrive in Windows 10
There are several methods to disable OneDrive in Windows 10, each tailored to different user preferences and technical expertise:
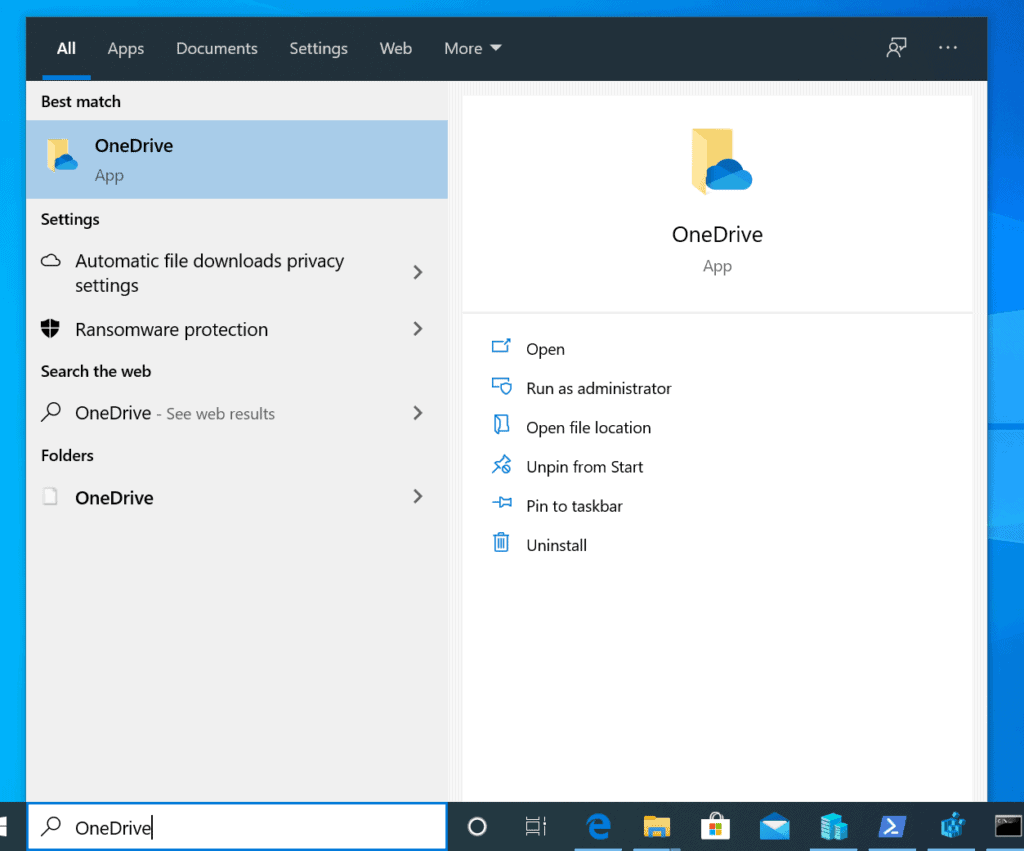
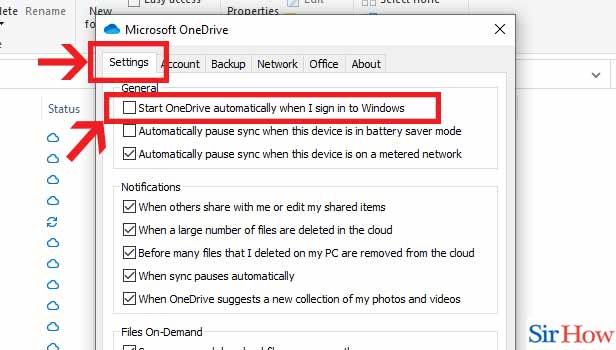
1. Disabling OneDrive Through Settings:
- Open the Windows Settings app by pressing Windows Key + I.
- Navigate to Accounts > Sync your settings.
- Under "Sync settings," locate the OneDrive toggle switch and turn it off.
- Alternatively, in the Settings app, search for "OneDrive" and select the OneDrive settings option.
- Click Unlink this PC.
2. Using the Task Manager:
- Open the Task Manager by pressing Ctrl + Shift + Esc.
- Navigate to the Startup tab.
- Locate the OneDrive entry and disable it by clicking the Disable button.
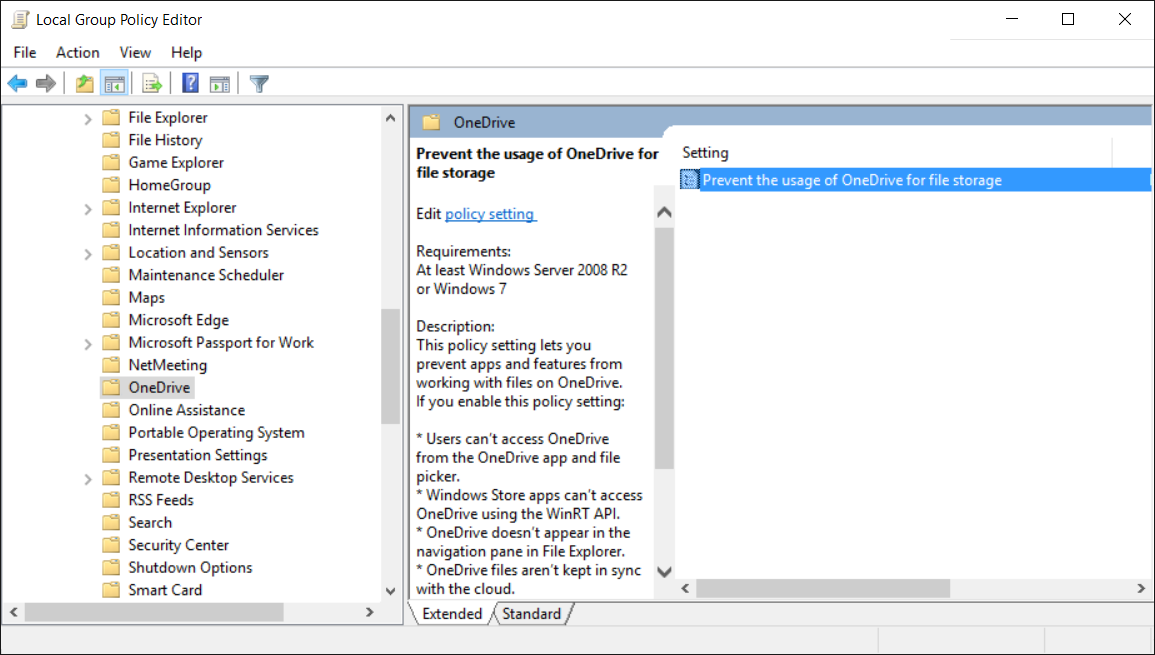
3. Modifying the Registry:
- Important: Modifying the registry can be risky. It’s recommended to create a system restore point before proceeding.
- Open the Registry Editor by pressing Windows Key + R, typing "regedit," and pressing Enter.
- Navigate to the following key:
HKEY_LOCAL_MACHINESOFTWAREMicrosoftWindowsCurrentVersionRun - Locate the OneDrive entry and delete it.
4. Using Third-Party Tools:
- Several third-party tools are available that can disable OneDrive with a single click.
- These tools often offer additional features like file management and system optimization.
Important Considerations After Disabling OneDrive:
- File Access: After disabling OneDrive, files stored in the OneDrive folder will no longer sync to the cloud. However, they will remain accessible on your local device.
- Data Backup: It’s essential to have a backup solution in place to protect your data, as disabling OneDrive removes the automatic backup feature.
- System Performance: You may notice an improvement in system performance after disabling OneDrive, especially if you were experiencing performance issues due to constant syncing.
FAQs About Disabling OneDrive in Windows 10:
Q: What happens to my files when I disable OneDrive?
A: Your files will remain in the OneDrive folder on your local device. However, they will no longer sync to the cloud.
Q: Can I re-enable OneDrive after disabling it?
A: Yes, you can re-enable OneDrive at any time by following the same steps outlined in the "Disabling OneDrive Through Settings" section.
Q: Does disabling OneDrive affect other Microsoft services?
A: Disabling OneDrive primarily affects file syncing and cloud storage. It does not affect other Microsoft services like Outlook, Teams, or Xbox Live.
Q: Can I disable OneDrive on specific folders?
A: While you cannot disable OneDrive for specific folders, you can choose to exclude certain folders from syncing by adjusting the OneDrive settings.
Tips for Disabling OneDrive in Windows 10:
- Backup your data: Before disabling OneDrive, ensure you have a backup of your important files to prevent data loss.
- Check your storage plan: If you’re using OneDrive for storage, consider upgrading your plan if you frequently exceed the free storage limit.
- Explore alternatives: If you need cloud storage, explore other options like Google Drive, Dropbox, or Mega.
- Use third-party tools: Consider using third-party tools to disable OneDrive for a streamlined experience.
Conclusion:
Disabling OneDrive in Windows 10 can be a beneficial choice for users who prioritize local storage, prefer complete control over their data, or face limitations with their OneDrive storage plan. By understanding the potential benefits and drawbacks, and following the appropriate methods, users can effectively manage their storage preferences and optimize their Windows 10 experience. Remember to back up your data and explore alternative storage solutions if necessary, ensuring seamless data management and a personalized computing experience.
![How to completely disable OneDrive in Windows 10 [Tip] Reviews, news](https://dt.azadicdn.com/wp-content/uploads/2015/08/disable-OneDrive-Windows-10.png?5006)
![How to Disable OneDrive in Windows 10 [Complete Guide] - EaseUS](https://www.easeus.com/images/en/data-recovery/drw-pro/uncheck-files-folders-for-syncing-in-onedrive.png)
![How to completely disable OneDrive in Windows 10 [Tip] dotTech](https://dt.azadicdn.com/wp-content/uploads/2015/08/disable-OneDrive-Windows-10-c-620x439.png?7653)
![How to Disable OneDrive in Windows 10 [Complete Guide] - EaseUS](https://www.easeus.com/images/en/data-recovery/drw-pro/prevent-using-onedrive-in-group-policy.png)
![How to Disable OneDrive in Windows 10 [Complete Guide] - EaseUS](https://www.easeus.com/images/en/data-recovery/drw-pro/hide-ondrive.png)
Closure
Thus, we hope this article has provided valuable insights into Unlocking Local Storage: A Guide to Disabling OneDrive in Windows 10. We appreciate your attention to our article. See you in our next article!